
Microblading Aftercare Essentials for Long-Lasting Results: Microblading Healing Tips You Need to Know!
- arysbrows
- Jan 12
- 4 min read

So, you just got your eyebrows microbladed, and you’re absolutely loving the fresh, flawless look! But wait—don’t put away your aftercare guide just yet! The secret to keeping those brows looking stunning for months lies in how you care for them right after your appointment. Trust me, nailing your microblading healing tips is the game-changer for long-lasting, beautiful results!
Let’s dive into everything you need to know about microblading aftercare essentials. Ready? Let’s go!
Why Microblading Healing Tips Are a Total Game-Changer
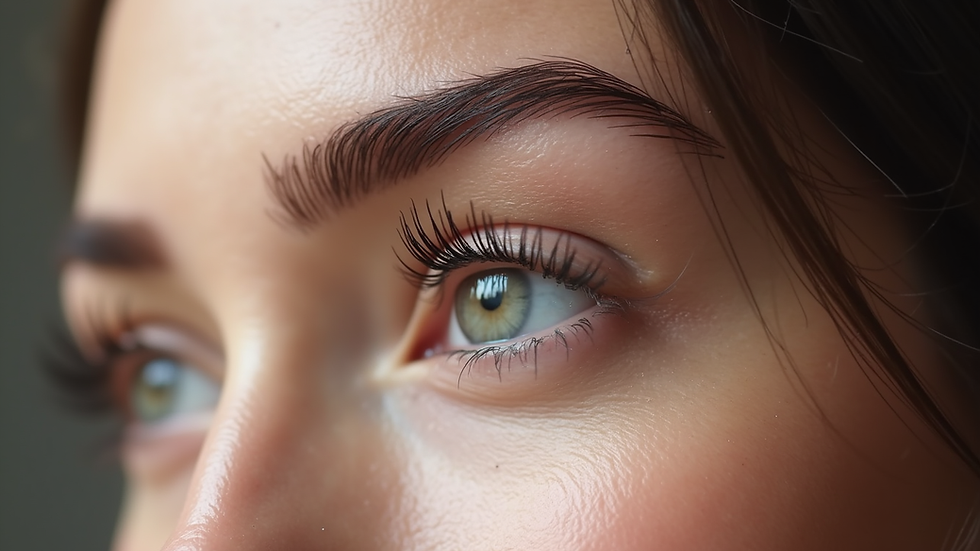
You might be wondering, “Why is aftercare such a big deal?” Well, here’s the scoop: microblading is essentially a semi-permanent tattooing technique that deposits pigment into your skin. Your skin needs time to heal and lock in that pigment properly. If you don’t follow the right steps, you risk fading, patchiness, or even infection. Yikes!
Here’s what happens during healing:
Your skin forms tiny scabs to protect the pigment.
The pigment settles into the skin layers.
The scabs fall off naturally, revealing your perfect brows.
If you pick at scabs or expose your brows to water and dirt too soon, you could mess up this process. So, following microblading healing tips is non-negotiable if you want your brows to stay flawless for 12-18 months!
Essential Microblading Healing Tips You Can’t Miss
Alright, let’s get into the nitty-gritty! Here are the top microblading healing tips that will keep your brows looking fresh and fabulous:
1. Keep Your Brows Dry (Yes, Really!)
For the first 7-10 days, avoid getting your brows wet. That means no swimming, saunas, or even heavy sweating. Water can cause the pigment to fade or blur. Use a damp cotton pad to gently clean around your brows if needed, but don’t soak them!
2. Say No to Makeup on Your Brows
Makeup can introduce bacteria and irritate your healing skin. Hold off on applying any brow powders, pencils, or concealers until your artist gives you the green light.
3. Avoid Touching or Picking at Your Brows
I know it’s tempting to scratch or peel those little scabs, but resist! Picking can cause scarring and uneven pigment retention. Let the scabs fall off naturally.
4. Use the Recommended Ointment
Your artist will likely give you a healing balm or ointment. Apply it sparingly with clean hands to keep your brows moisturized and protected. Overdoing it can clog pores and slow healing.
5. Protect Your Brows from Sun Exposure
UV rays can fade your pigment fast. Wear a hat or apply a gentle sunscreen (once healed) to shield your brows from the sun.
6. Avoid Facial Treatments and Exfoliants
Skip facials, chemical peels, and exfoliating products for at least 4 weeks. These can irritate your skin and cause pigment loss.

How to Speed Up Healing of Microblading?
Want to bounce back faster and flaunt your new brows ASAP? Here are some pro tips to speed up your microblading healing:
Stay Hydrated: Drinking plenty of water helps your skin heal from the inside out.
Eat Skin-Boosting Foods: Load up on vitamins A, C, and E to support skin regeneration.
Get Plenty of Rest: Sleep is your body’s natural repair mode—don’t skimp on it!
Avoid Stress: Stress can slow healing, so try meditation or light exercise to keep calm.
Follow Your Artist’s Instructions: They know best! Stick to their aftercare routine religiously.
Remember, healing times vary from person to person, but these tips can definitely help you get there quicker and with better results.
What to Expect During the Healing Process?
Understanding what’s normal during healing can save you from unnecessary panic. Here’s a quick timeline of what to expect:
Days 1-3: Your brows will look bold and dark. This is normal because the pigment is fresh.
Days 4-7: Scabbing and flaking begin. Don’t pick! Let the skin shed naturally.
Days 8-14: Color may appear lighter or patchy. This is the pigment settling in.
Weeks 3-4: Your brows will start to look more natural and even.
Touch-up Appointment: Usually scheduled 6-8 weeks after the initial session to perfect your brows.
If you notice excessive redness, swelling, or pus, contact your artist immediately as these could be signs of infection.

Why Choosing the Right Artist and Training Matters
Here’s a little insider secret: your microblading results depend just as much on your artist’s skill as on your aftercare routine. That’s why Ary’s Brows is committed to being the Midwest’s top destination for both expert permanent makeup services and comprehensive training for aspiring PMU artists.
When you choose a trained professional, you get:
Precision in pigment placement
Safe, hygienic procedures
Personalized aftercare guidance
And if you’re an aspiring artist, Ary’s Brows offers hands-on training that equips you with the skills to deliver stunning results and educate your clients on proper aftercare. It’s a win-win!
Ready to Rock Your Perfect Brows?
Now that you’re armed with these microblading healing tips and aftercare essentials, you’re all set to enjoy gorgeous, long-lasting brows! Remember, the key is patience and following the right steps. Your skin is healing, and your new brows are settling in for the long haul.
If you want to learn more about microblading aftercare, or if you’re ready to book your appointment or training session, Ary’s Brows is here to help you shine!
Get ready to wake up every day with brows that wow!


Comments