
Essential Microblading Aftercare Instructions
- arysbrows
- Oct 28, 2025
- 4 min read

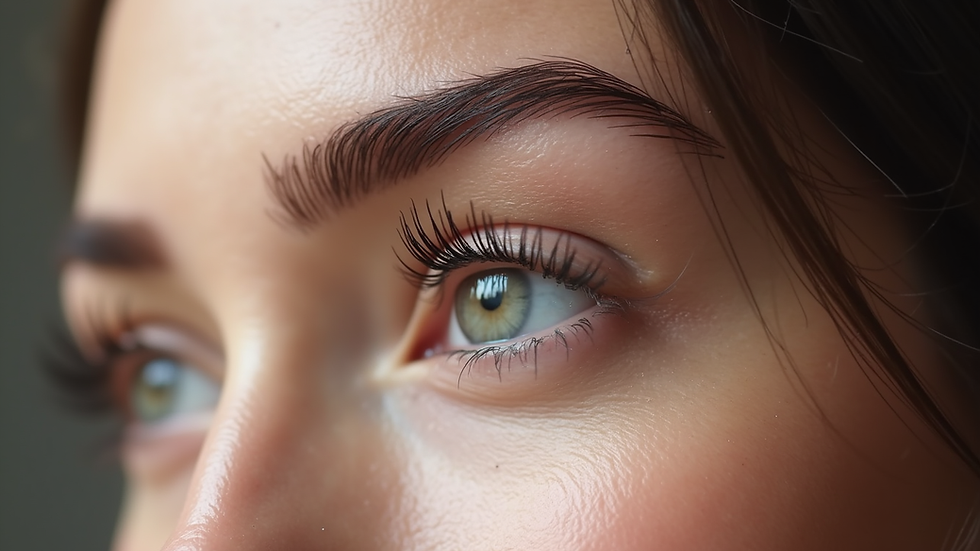
So, you just got your eyebrows microbladed, and you’re absolutely loving the new look! But wait - the journey to perfect brows doesn’t stop when you leave the studio. Nope! The real magic happens when you follow the right aftercare routine. Trust me, nailing your microblading aftercare is the secret sauce to long-lasting, stunning results that turn heads for months!
Ready to dive into the ultimate guide packed with everything you need to know? Let’s get those brows looking flawless and fresh every single day!
Why Microblading Aftercare Tips Are a Game-Changer
You might be wondering, “Why is aftercare such a big deal?” Well, here’s the scoop: microblading is a semi-permanent tattooing technique that creates those perfect hair-like strokes on your brows. Your skin needs time to heal and lock in the pigment. If you don’t treat your brows right, you risk fading, patchiness, or even infection. Yikes!
That’s why following expert microblading aftercare tips is non-negotiable. It’s like giving your brows a VIP treatment so they heal beautifully and stay vibrant. Plus, it helps you avoid any annoying side effects that could ruin your fresh new look.
Here’s a quick peek at what you’ll want to do:
Keep your brows dry and clean
Avoid touching or picking at the area
Skip makeup and heavy sweating for a bit
Use recommended ointments and moisturizers
Sounds simple, right? But there’s more to it! Let’s break it down step-by-step.

Top Microblading Aftercare Tips You Can’t Miss
Alright, let’s get into the nitty-gritty! These microblading aftercare tips will help you protect your investment and keep your brows looking sharp.
1. Keep Your Brows Dry for the First 7-10 Days
Water is your enemy during the initial healing phase. Avoid washing your face with water directly on your brows. No swimming, saunas, or heavy sweating either! Moisture can cause the pigment to fade or blur.
2. Say No to Makeup on Your Brows
Makeup can clog pores and introduce bacteria, which is a big no-no when your skin is healing. Hold off on applying any brow powders, pencils, or concealers until your artist gives you the green light.
3. Don’t Pick, Scratch, or Peel
Your brows might get itchy or flaky - totally normal! But resist the urge to pick or peel the scabs. Let them fall off naturally to avoid scarring or pigment loss.
4. Use the Recommended Ointment
Your artist will likely give you a special healing balm or ointment. Apply it sparingly as directed to keep the area moisturized and protected. Overdoing it can suffocate the skin and delay healing.
5. Avoid Sun Exposure and Tanning Beds
UV rays can fade your pigment fast. Wear a hat or sunglasses if you’re outside, and avoid tanning beds until your brows are fully healed.
6. Follow Up with Your Touch-Up Appointment
Microblading usually requires a touch-up 6-8 weeks after the initial session. This is when your artist perfects the shape and fills in any areas that didn’t heal perfectly.
Following these tips will help you get the most out of your microblading experience. Remember, your brows are an investment in your confidence - treat them like royalty!
How do you take care of your eyebrows after microblading?
Great question! Taking care of your eyebrows after microblading is all about gentle love and patience. Here’s a detailed routine to keep those brows in tip-top shape:
Morning and Night Cleaning: Use a gentle, fragrance-free cleanser with a cotton pad to lightly clean around your brows. Avoid scrubbing or rubbing.
Apply Healing Ointment: After cleaning, apply a thin layer of the ointment your artist recommended. This keeps the skin hydrated and promotes healing.
Avoid Excessive Facial Treatments: Skip facials, chemical peels, and exfoliating treatments for at least 4 weeks.
Sleep on Your Back: Try to sleep on your back to avoid rubbing your brows against the pillow.
Stay Hydrated and Eat Well: Healthy skin heals faster! Drink plenty of water and eat nutrient-rich foods.
By following this routine, you’ll help your brows heal evenly and keep the pigment looking fresh and natural.

What Happens If You Don’t Follow Aftercare Instructions?
Skipping or ignoring your microblading aftercare instructions can lead to some serious brow drama. Here’s what might happen:
Uneven Fading: Pigment can fade unevenly, leaving patchy or blotchy brows.
Infections: Dirty hands or makeup can introduce bacteria, causing redness, swelling, or worse.
Scarring: Picking at scabs can cause permanent scars or pigment loss.
Color Changes: Sun exposure or harsh products can alter the pigment color, making your brows look unnatural.
Nobody wants that! So, trust me when I say that sticking to your aftercare plan is the best way to keep your brows looking flawless and fresh.
Ready to Rock Your Perfect Brows?
Now that you’re armed with the best microblading aftercare tips, you’re all set to enjoy gorgeous, natural-looking brows that boost your confidence every day! Remember, the key is patience and gentle care. Your skin is healing, and your new brows are settling in for the long haul.
If you want to dive deeper into the details, check out these microblading aftercare instructions for expert advice straight from the pros at Ary’s Brows. They’re the go-to destination in the Midwest for top-tier permanent makeup services and training, so you know you’re in great hands!
Go ahead - flaunt those brows with pride! You earned it!
Ready to book your microblading session or learn how to become a PMU artist? Ary’s Brows is here to help you shine!


Comments